To place a SketchUp model in Google Earth:
1. Install and start Google SketchUp.
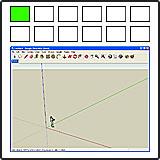
Note: For best performance, make sure SketchUp is running before you start Google Earth; otherwise, SketchUp might run slowly.
2. Install Google Earth, and make sure to turn on terrain (select the Terrain check box).
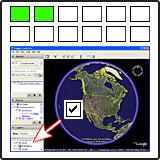
Hint: When using Google Earth with 3D SketchUp model, for best results you should:
- Set the Google Earth elevation exaggeration = 1. Otherwise, the elevation of your SketchUp models can end up incorrect. In Google Earth: "Tools" › "Options" › "View" › "Rendering" › "Elevation Exaggeration" = 1.
- Set the Google Earth view area to the largest possible setting. This can improve the clarity of the terrain image you import into SketchUp. In Google Earth: "Tools" › "Options" › "View" › "Detail Area" = Medium or Large.
3. PC only: Set Google Earth to DirectX mode, and then restart Google Earth. To set DirectX mode: "Start" › "All Programs" › "Google Earth" › "Set Google Earth to DirectX Mode."
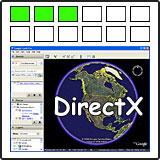
Note: With some graphics cards, particularly older ones, it may not be necessary to set Google Earth to DirectX Mode. If Google Earth is set to OpenGL and you can use the Get Current View command in SketchUp successfully (see step 5 below), then there's no need to use DirectX mode. You might find that Google Earth runs faster if you use OpenGL mode.
4. In Google Earth, fly down close to the location where you want to place your model (looking straight down).
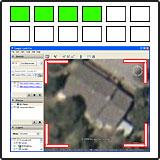
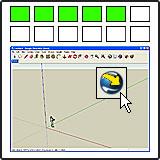
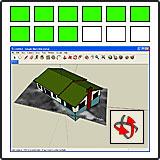
5. In SketchUp, click the "Get Current View" button to take a snapshot of the terrain that is displayed in Google Earth (the button looks like the Google Earth icon with a yellow arrow pointing right).
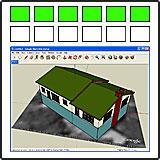
6. In SketchUp, create your model over the image. If the terrain at your location is sloped, be sure to add a basement to your model so it can sit down in the sloped ground when you turn terrain on.
Note: Although the terrain is in color when you see it in Google Earth, the image in SketchUp is black and white. This doesn't affect anything because the image is for positioning purposes only. Once you place your model in Google Earth, it is displayed on the original color terrain.
Note: You can also download models from the 3D Warehouse to use in your model. For more information about how to download models from the 3D Warehouse into SketchUp, click here.
Hint: For more information about how to create a model in SketchUp, see the SketchUp video tutorials ("Help" › "View Tutorials") and the SketchUp User's Guide ("Help" › "SketchUp Help").
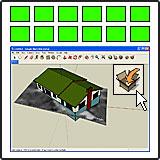
7. In SketchUp, click the "Toggle Terrain" button to view the 3D image. Now you will see any slope in your terrain, and your model may be sunk into or below the terrain, or it may be floating above the terrain.
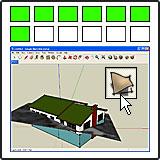
Note: In SketchUp, the terrain is imported as two images, a flat (2D) image and a contoured (3D) image. Initially, the 2D image is displayed and the 3D image is hidden. You can switch between the two images by clicking the "Toggle Terrain" button (it looks like two squares of terrain, one flat and one contoured). The 3D image is displayed when the button looks like it is pushed in.
8. In SketchUp, use the Move/Copy tool to raise or lower your model to position it correctly on the terrain.
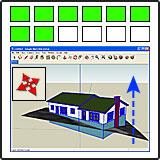
Note: To lock the move in the blue (up/down) direction, click the Up or Down Arrow key. If you are having difficulty moving your model up or down (it will only move side to side), this could be because you have placed a component outside the building you are modeling, like a bench, and it has glued to the 2D terrain. To fix this, right-click the component, and then click "Unglue."
9. In SketchUp, orbit so that you are looking down at your model on the terrain.
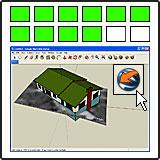
10. In SketchUp, click the "Place Model" button (it looks like the Google Earth icon with an orange arrow pointing left).
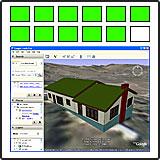
11. In Google Earth, view your model at the location where you took the snapshot.
Who can see your model? When you place a model in Google Earth from SketchUp, only you can see it. If you want to share it with others, you need to put it in the 3D Warehouse (see the next step). For more information about keeping your model in or deleting it from your copy of Google Earth, click here.
Can't see your model in Google Earth? For information about probable causes and the solutions, click here.
12. If you want to share your model, you can upload it to the 3D Warehouse. For more information about how to share models via the 3D Warehouse, click here.
|