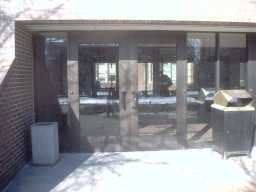
Reference Photo Tutorial for Purdue Virtual Campus |
1. In this tutorial we will outline several
guidelines for taking exterior reference photos of a building to be used later
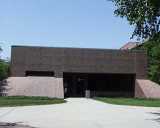
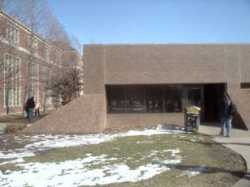
for creating a 3d. In this case, we’re using Hicks Undergraduate Library. Our
goal is to get decent images for every side of the building.
2. First things first, you’ll need a camera, and
you’ll need to know what building you want to take images of. For best results,
take your photos in diffuse lighting (an overcast day for example). This
prevents unwanted shadows from showing up and helps keep the coloring of
objects from being affected by the yellow from sunlight. Unfortunately, it was
sunny out today, so these images aren’t ideal.
3. For each building, we’ll
be needing 3 types of images: reference, orthogonal, and detail shots.
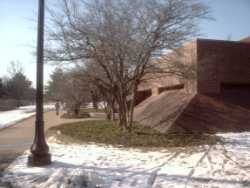
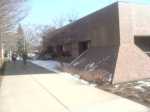
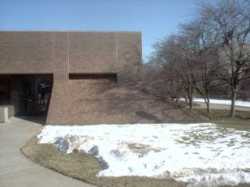
4. Reference images are usually taken from an angle
and let us see the edges of a building as well as all the features of a given
side. It’s important to fit the whole side of a building in a reference image,
even if this means you’re taking the image from an angle.
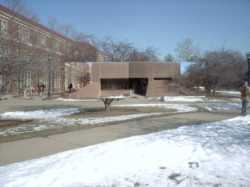
5. Orthogonal images are often difficult to take
because of other objects that might get in our way.
6. In these cases, we’ll
need to take a reference image, and then a number of close-up shots. We’ll use
the reference image to show us how to stitch together the close-up shots.
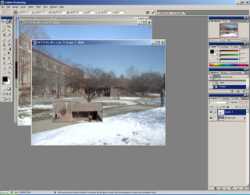
7. In Photoshop, copy the close-up shot, and paste it
in the far-away orthogonal shot. You will need to resize the pasted image so it
will fit the far-away image.
8. Once you resize and place your close-up images,
you should have an image that is almost orthogonal (close enough for our
purposes). Although the resulting image might not look pretty (obvious seams,
color inconsistencies, etc.), it’s good enough for what we need.
9. In some cases, you may
not be able to get a far-away orthogonal image, so you’ll need to improvise a
bit. The concept is still the same though, stitching photos together to get a an almost orthogonal image of the entire side of the
building.
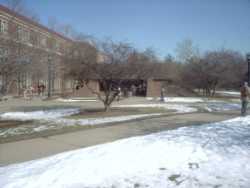
10. Here is where the detail shots can come in handy.
Notice all the trees that are blocking our view of the building. We can take
our unobstructed detail shots and paste them on top of the trees, resulting in
a clearer image of our building. We still see lots of seams and imperfections,
but this is okay for what we need.
11. The key thing that we want is to see the edges of
the image. This is important later on in the process when we slice up our model
in 3dsMax. As a rule of thumb, anywhere a texture changes, we want to see that
edge. For example, in this image we have outer edges of the building, brick
meeting cement, brick meeting door, brick meeting window, door meeting window,
door meeting cement, window meeting cement, and horizontal brick meeting
vertical brick.
12. Repeat this process for each side of the
building.
13. Once done, we should be able to quickly go into
3dsMax and apply these images to a simple building model to create a low
resolution 3d Building. However, since we paid attention to making all the
edges visible, we will be able to create a high resolution 3d building by
slicing the model using the edges of our images. This is detailed in a later
tutorial.
|
| Источник: http://web.ics.purdue.edu/~morelanj/tutorials/reference_photo_tutorial.htm |
