Kycherenco Sergey
Faculty: Engineering Mechanics and Engineering
Speciality: Metal-cutting machine-tools and systems
Theme of master's work:
Designing magnetic abrasive die finishing system. Investigation of polishing processes
Supervisor: Ph.D. Gusev Vladimir
Abstract
Master's Qualification Work
"Designing magnetic abrasive die finishing system. Investigation of polishing processes."
Introduction
Voloka - drawing tools, which is an integral part of the drawing equipment required for the production of wire. However, this is the superhard precision instrument actually determines the ultimate success or failure in any process of wire drawing, as they really are making a great contribution to the economic efficiency of the cable plant.
Topicality
Nowadays we face the problem of providing the efficient search of information. Everyone who tries to find image or video knows about it. Traditional position of search was used with the help of scheme ranking which is similar to web search. But search by name, authors, themes, key words is insufficient. Indeed it is wasteful and not good for completed description of video data fill-in. Lack of uniqueness between visual content and textual description leads to the index fall of figure accuracy, recall, absence of video search by extract or key-frame [1].
Task production
The die is a drawing tool, which is an integral part of drawing equipment necessary for wire manufacture.
It is precisely this extra-hard precision tool that actually determines the ultimate success or failure in any wire drawing process, since they make a really large contribution to cost effectiveness of cable manufacturing works.
In general, technical requirements of the drawing tool can be determined as follows:
1. Shapes and sizes of die workpieces must correspond to those indicated on relevant drawings.
2. Die workpieces must be made of sintered hard alloys according to GOST 3882-74.
The density of the hard alloy for manufacturing die workpieces of form 20 must be:
14.7–15.1 g/cm3 for ВК6;
14.4–14.9 g/cm3 for ВК8.
3. Limit deviations of outer diameter D and height Н of die workpieces are ±0.6 mm.
4. Limit deviations of orifice diameter d of die workpieces must not exceed 0.6 mm.
5. Limit deviations of angular dimensions must not exceed ±1°.
6. Limit deviations of other linear dimensions are determined for the mould and must not exceed ±0.5 mm.
7. Junctions of all orifice areas of die workpieces must have blending.
8. Junctions of the entrance and exit at the butt ends of die workpieces are allowed to have rounding with a radius not exceeding 0.5 mm, and burrs not exceeding 0.5 mm.
9. Flaking of working surfaces of die workpieces in the orifice hole is not allowed.
10. Flaking depth for non-working surfaces of die workpieces must not exceed 1 mm for die workpieces with an outer diameter of up to 30 mm, and 2 mm for die workpieces with an outer diameter of up to 100 mm.
11. Macrostructure of die workpieces when fractured must be homogeneous. Cavities, seams and foreign impurities are not allowed.
12. Surfaces (both inner and outer) of die workpieces must not have skins, bulges, seams, cracks[1].
Wire drawing dies can be assessed by the quality of wires manufactured by means of a specific drawing tool. This means that optimum increase of the tool life is the main thing necessary to achieve maximum cost effectiveness.
Condition of surfaces and near-surface layers of workpieces and cutting tools is determined to a considerable degree by their operational properties.
Quality criteria for drawing tools:
• wear-resistant die material;
• low friction factor;
• short run-in duration;
• geometry (die profile and its surface polishing);
• minimum number of remachining cycles after initial wear was revealed;
• such defects as microcracks, internal residual stress, corrosion resistance;
• long die life and reliability.
Let us consider the abovementioned criteria in more detail.
Materials used for die manufacture: hard alloys natural diamonds polycrystalline synthetic diamonds;
Wire drawing dies made of hard alloys:
Die workpieces made of hard alloys are tens and, in some cases, hundreds of times more durable than steel dies, and are many times cheaper than diamond dies. These dies can be successfully and most efficiently used for drawing wires made of all ferrous and non-ferrous metals and their alloys.
Advantages:
– high surface quality
– low price
– high flexibility
Disadvantages:
– high wearability
– not to be used to draw fine wires
Wire drawing dies made of natural diamonds:
Natural diamonds are widely used in wire manufacture, especially in processing non-ferrous metals where high finish is required when small diameters are drawn. Точные and постоянные профили of рабочих частей (рабочий конус and калибровочный цилиндр) necessary for proper drawing are ensured by high polishing accuracy, and guarantee high wire quality and increased durability of dies.
Advantages:
– very high surface quality
– long life
– wide range of application
Disadvantages:
– possible impurities (in the structure of natural diamonds)
– irregular wear
– high purchase expenses
Wire drawing dies made of polycrystalline synthetic diamonds:
Synthetic diamonds combine excellent deformation resistance and heat conductivity inherent in natural diamonds, and shock strength of tungsten carbides. Unlike natural diamonds, synthetic diamonds do not have definite cleavage planes, along which a fracture can happen in the process of drawing. These properties make it a perfect material for using to draw steel wires and non-ferrous metal wires.
Advantages:
– very high life
– regular wear
Disadvantages:
– lower surface quality as compared with natural diamond dies
Wire drawing dies made of ceramics
Due to its unique properties, such as very high wear resistance, incredibly smooth surface and practically no negative interaction, for example, with wires and cables.Zirconium oxide (ZrO2) is an up-to-date manufacturable material, which is now used in various spheres and branches of industry. Zirconium ceramics has 8.2–8.7 points of hardness on the Mohs scale, which makes it the third hardest material after diamond and corundum (steel has the maximum of 6.2 points on this scale), as well as a low friction factor and the lowest heat conductivity among all known ceramic materials.
Ferrous metal wires being drawn, the most efficient tools used in our case will be dies made of hard alloys and ceramics. Their utilization is the most expedient in terms of economy.
It means that it is necessary to decrease the friction factor and prevent any occurrence of internal residual stresses, as well as defects, microcracks and cavities.
Practical value
One of promising methods of final tool polishing resulting in a low roughness and removal of harmful residual stresses is magnetic abrasive polishing (MAP) method. Polishing in the magnetic field enables to obtain high-quality, high-precision spherical and flat surfaces of optical products, including surfaces of thin lenses and micro-optical components.
At present, the manufacturing process ends with die polishing, which results in ensuring a required microgeometry of the surface layer. Foreign tools, such as ETC-1/Н, KPM 3 CNC, KPM 4/АС and HGM-22, are semi-automatic grinding and polishing machines for processing by means of grinding diamond needles of round drawing dies made of tungsten carbide. High-quality geometry of drawing dies under treatment can be obtained within a record short time. After adjustment, this easily operable machine works mainly in automatic mode.
At the first stage, drawing dies are extracted from the cartridge, and the active zone, followed by the parallel land, is restored with the help of a grinding diamond needle.
Then the drawing die is subjected to final polishing with the help of a grinding steel needle with diamond paste applied upon it. In the process, sensors continuously measure the drawing die hole diameter, which ensures optimum precision. Finally, the finished die is pushed out, and the next one subject to treatment is taken out of the receptacle.
However, polishing can result in significant residual stresses forming in the surface layer, which decreases the operational die life. As opposed to polishing, MAP generates compression residual stresses in the surface layer.
MAP method excels many conventional processes of surface polishing (mechanochemical, magnetic rheological), cleaning and grinding in manufacturing capabilities, economic and environmental indicators.
The essence of the method is as follows: magnetic abrasive powder is located between electromagnet poles, thus making a cutting tool as a kind of “polishing brush”. When a workpiece moves through the active zone, the powder exerts pressure on the piece in every surface point, which results in removing metal and smoothing microroughnesses. The magnetic field that possesses elastic forces affecting isolated abrasive grains is used to couple the latter. Причем the degree of elasticity for this coupling is easily adjusted by changes in magnetic field intensity, ensuring various processing stages (rough polishing, finish polishing). Thus, MAP can approximate to grinding with independent or bonded material, enabling to use advantages of the first or second method in one operation cycle.
However, utilizing magnetic field energy for manufacturing purposes is a complicated scientific and technical task. Alongside with using propositions of theoretical and applied electromagnetics, as well as electrical engineering, an integrated study was required to determine the most optimum conditions of magnetic field functioning. To study magnetic field topography, its dynamic, kinematic and other characteristics in a more advanced way, it is necessary to establish the most optimum parameters for devices generating magnetic field.
The die has no cutting surface as such, and all operations concerning wire deformations are made by the operating cone. The operating cone must be symmetric relative to the die axis. The operating cone surface must be smooth and highly (brilliantly) polished. It is not allowed to have on the operating cone surface any cavities, longitudinal and transverse risks, dents and other defects decreasing durability of dies.
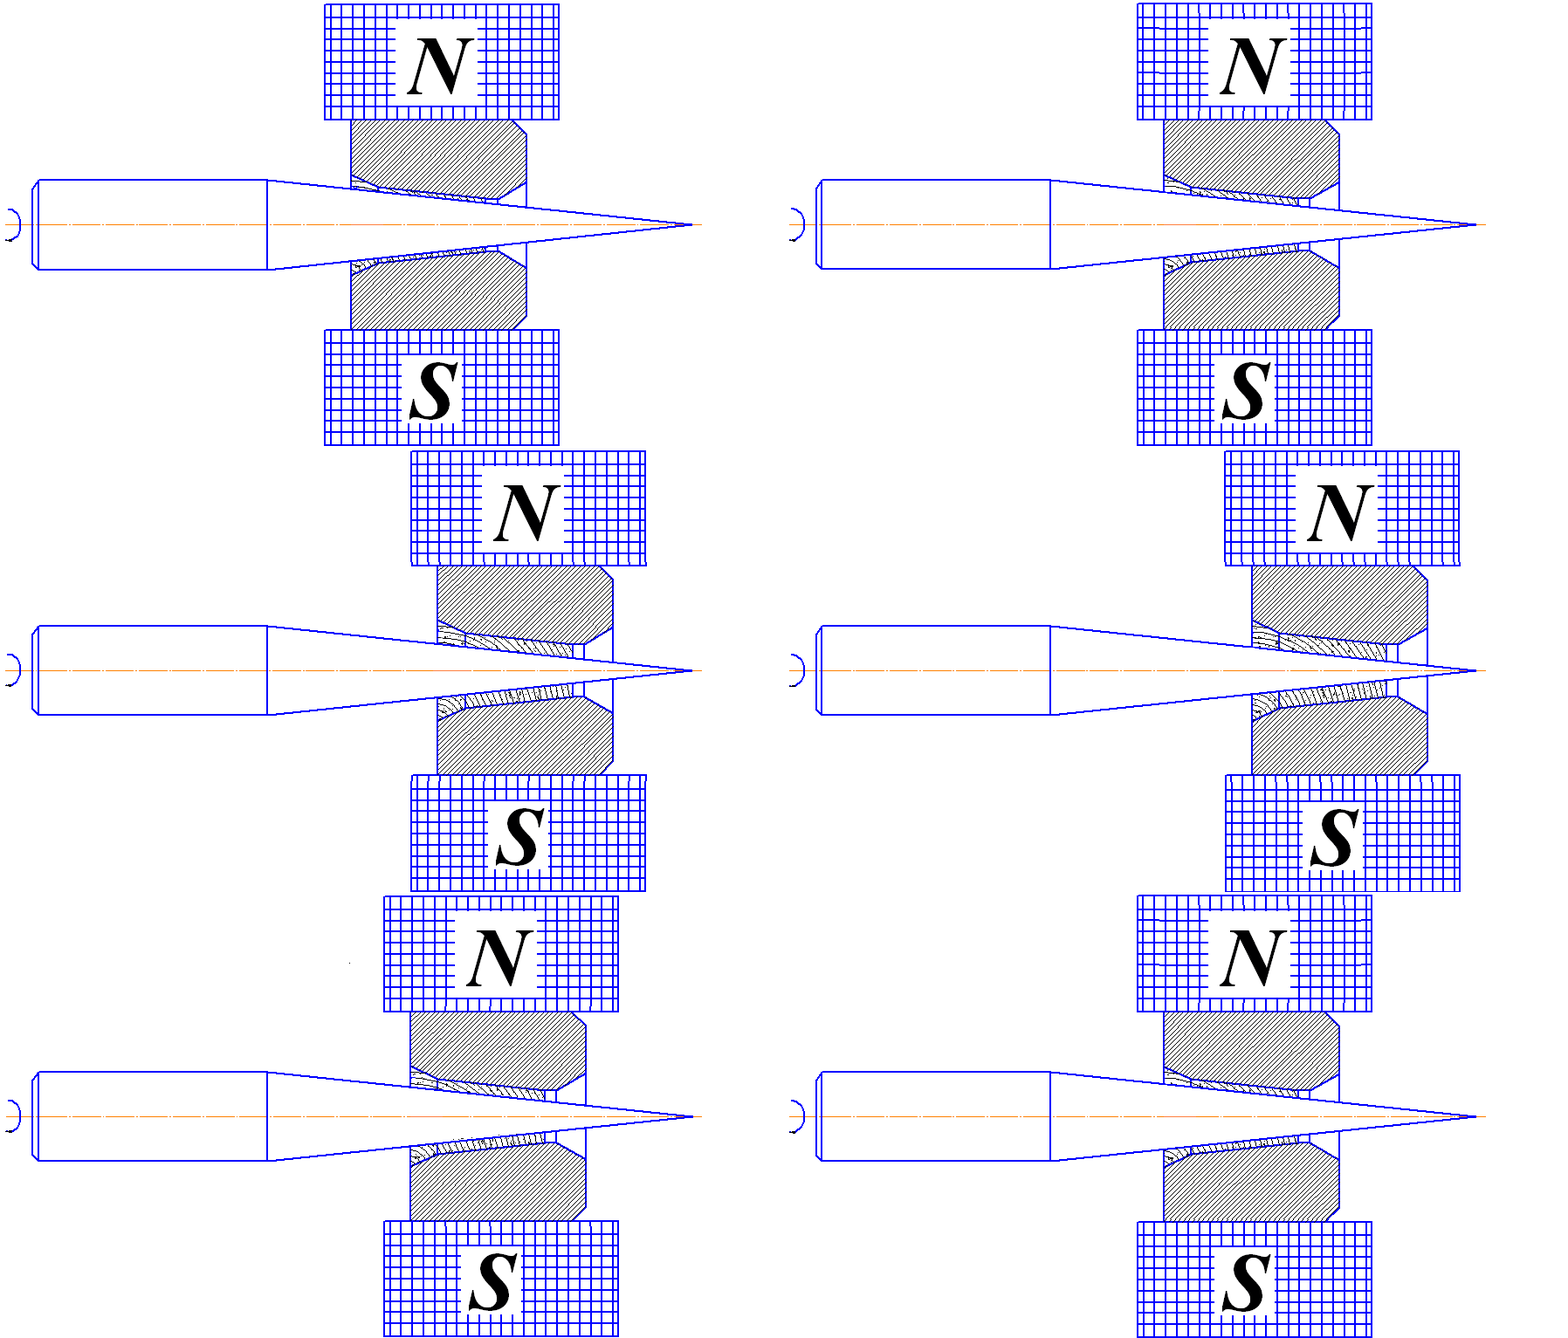
Magnetic abrasive polishing of holes makes it harder to locate the poles of electromagnetic inductors in the hole and thus generate strong magnetic fields there. Low gradients of magnetic induction at boundaries of operating clearances formed inside the holes cause reduced productivity. The processing layout shown here represents rotation of magnetic abrasive powder inside the holes, which is caused by the magnetic field induced from without.

Processing layout
If we put a die made of non-magnetic material inside a three-phase current stator, we can induce the rotating magnetic field in the bushing hole, but still that does not mean that magnetic abrasive powder placed in the same place will start to rotate following the field. Forces of magnetic origin press the powder to the hole surface and create friction forces preventing the powder from moving following the field. Forces of magnetic (for example, hysteretic) origin and Lorentz forces capable of dragging ferromagnetic and electroconductive particles prove to be insufficient to overcome friction forces applied to the surface under treatment. Enhancing the field, we simultaneously increase friction forces preventing from movement.
There is no equipment to perform MAP at present. Finishing and polishing processes at plants are performed manually with the help of a vice and a needle using the powder made of synthetic diamonds with such grit as АСМ (soft synthetic diamond) 7/5; АСМ 10/7; ЛОМ 14/10. We propose to replace abrasive paste polishing with magnetic abrasive polishing.
The task consists in designing a special magnetic abrasive processing machine for refinement and finishing of internal holes with cylindrical and conical surfaces, including the following major units: the frame, the magnetic system, the spindle unit, the rotating gripping device.
The machine operates as follows. A die is placed into the gripping device. The operating clearance gets filled with abrasive powder of ТiCFe50 type, and the magnetic field is turned on. Then the rotating gripping device is actuated with the die placed there and the spindle unit, which starts to oscillate.
Main results
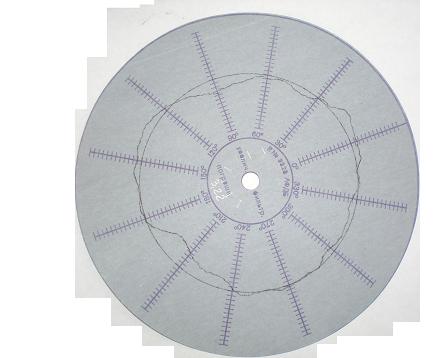
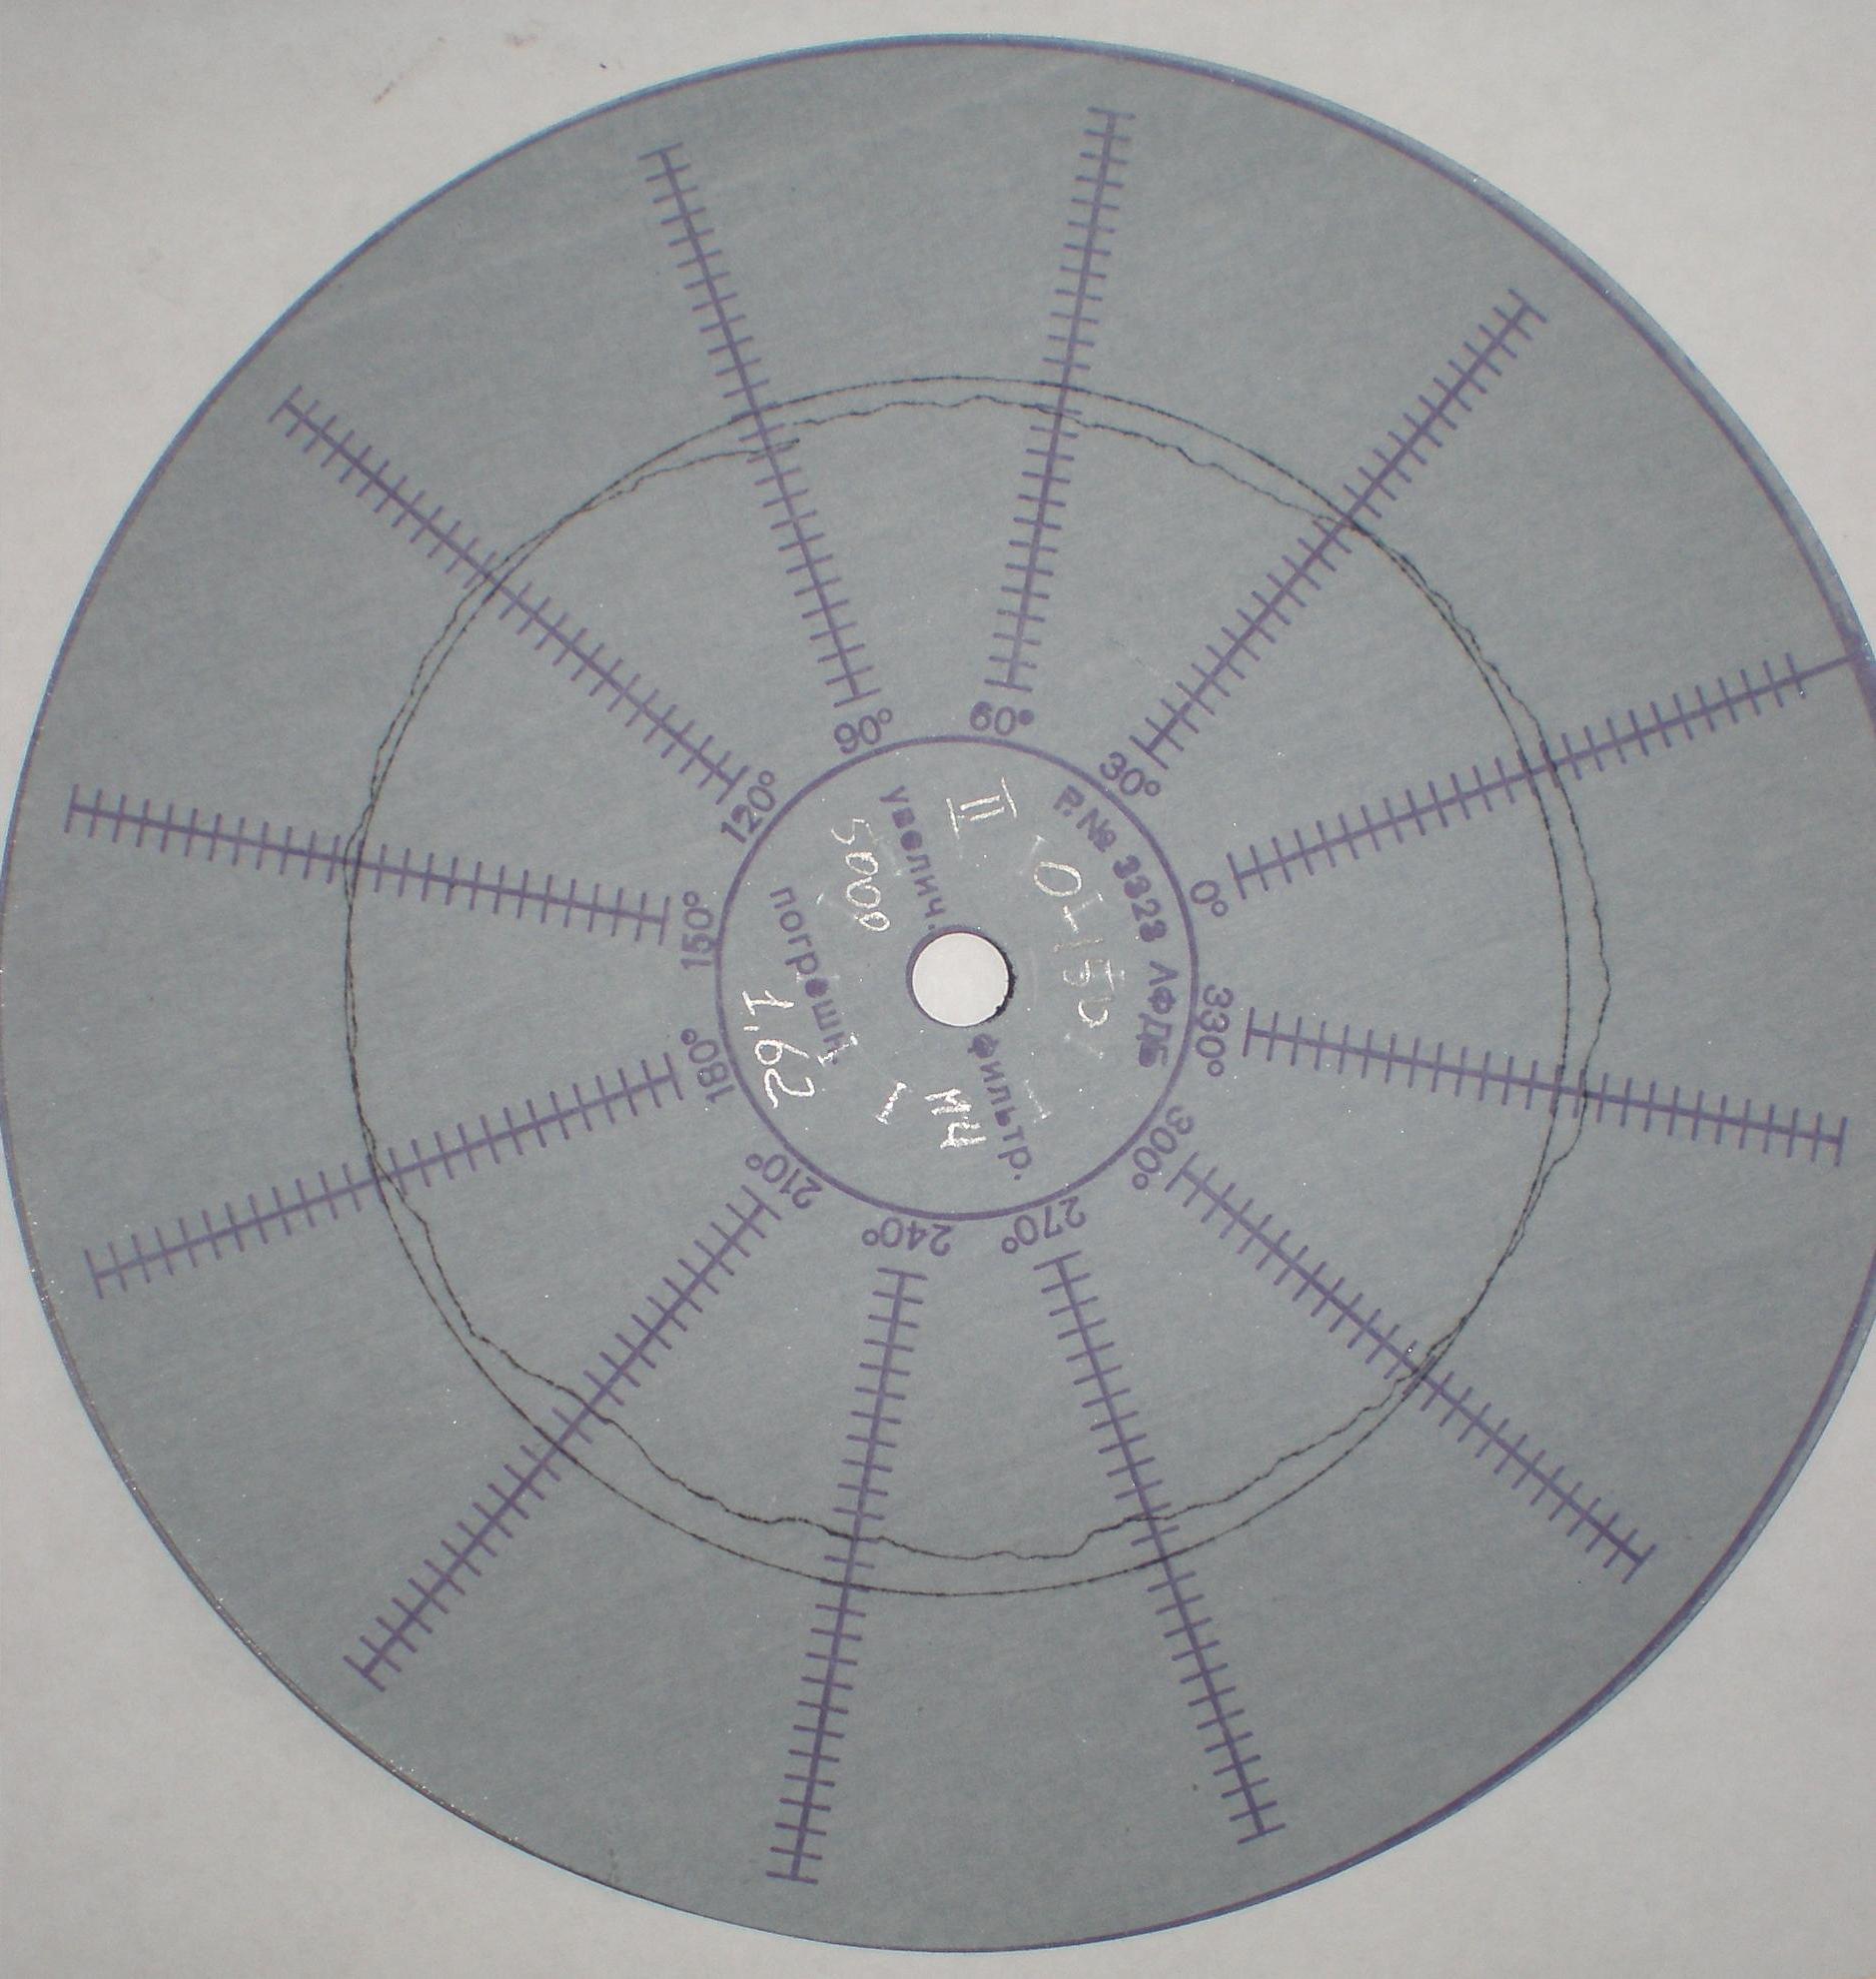
As of today, preliminary die polishing tests have been conducted. The findings show that polishing performed after grinding enables to obtain roughness Ra 0.12, which is lower than the required one, Ra 0.16, in 1.5–2 min. After polar diagrams are compared, it can be observed that the profile and the geometry remain unchanged, while roughness changes for the better. Microrelief drops are also absent.

Fig. 2. Polar diagram after polishing

Fig. 3 Polar diagram after MAP
Conclusion
Stability and reliability of magnetic abrasive equipment operation depend on a proper calculation of dynamic loads. That is why much attention is given to power characteristics of the process conditioned by the effect of magnetic fields, including the value and direction of magnetic forces in the active zone.
MAP method excels many conventional processes of surface polishing (mechanochemical, magnetic rheological), cleaning and grinding in manufacturing capabilities, economic and environmental indicators.
References
- Кучеренко С.В., Гусев В.В. МАГНИТО-АБРАЗИВНОЕ ПОЛИРОВАНИЕ ВОЛОК/ Севастопольский национально технический университет. – Севастополь, 2009 — № 6. - c. 100–101.
- Курт Г. Эдер,/ Ситуация с фильерами для волочения проволоки [Электронный ресурс] / компании,EDER Engineering GmbH(Австрия), - [PDF] http://www.kp-info.ru/images/File/2005_2_23-26.pdf
- Минцветмет СССР. ГОСТ 9453-75. Волоки-заготовки из твердых спеченных сплавов для волочения проволоки и прутков круглого сечения [Электронный ресурс]: < [PDF] http://www.complexdoc.ru/scan/ГОСТ%209453-75
- Гавриш А.П., Мельник Е.А. Влияние технологических режимов магнито – абразивной обработки на параметры шероховатости деталей ИЗ магнитомягких материалов [Электронный ресурс]: http://www.nbuv.gov.ua/portal/natural/Rits/2008_74/articles%5C07.htm
- Барон Ю. М. МАГНИТНО-АБРАЗИВНАЯ ОБРАБОТКАСУЩНОСТЬ, КЛАССИФИАЦИЯ И КИНЕМАТИКА ПРОЦЕССОВ МАО/http://www.twirpx.com/file/187210/
- Корягин С.И. Пименов И.В. Худяков В.К. Способы обработки материалов/ http://www.log-in.ru/books/10935/
- Плешанов В.С./ КЕРАМИЧЕСКИЕ КОМПОЗИЦИОННЫЕ МАТЕРИАЛЫ C НАНОКРИСТАЛЛИЧЕСКОЙ СТРУКТУРОЙ И РЕГУЛИРУЕМОЙ ПОРИСТОСТЬЮ./[PDF] www.sbras.nsc.ru/dvlp/rus/pdf/387.pdf
- Градиський Ю.О. Аналіз напруженого стану поверхневих шарів, отриманих електромагнітним наплавленням/ [PDF] http://www.nbuv.gov.ua/portal/Natural/Vikit/2008_38/p_141-145.pdf
- By Dr. LaRoux K. Gillespie Using magnetic abrasive finishing for deburring produces parts that perform well and look great.a href="http://www.ctemag.com/pdf/2008/0804-Magnetic.pdf"> [PDF] http://www.ctemag.com/pdf/2008/0804-Magnetic.pdf
- Masahiro Anzai, Takumi Yoshida, and Takeo Nakagawa. Magnetic abrasive automatic polishing of curved surface. [PDF] http://www.riken.go.jp/lab-www/library/publication/review/pdf/No_12/12_015.pdf
Remark
The master’s work was not completed yet while writing this abstract of thesis. The date of completing is 1 December, 2010. The full text of the work and the material on this subject can be received from the author or its curator after the given date.
